How to Graft Trees Together: A Guide
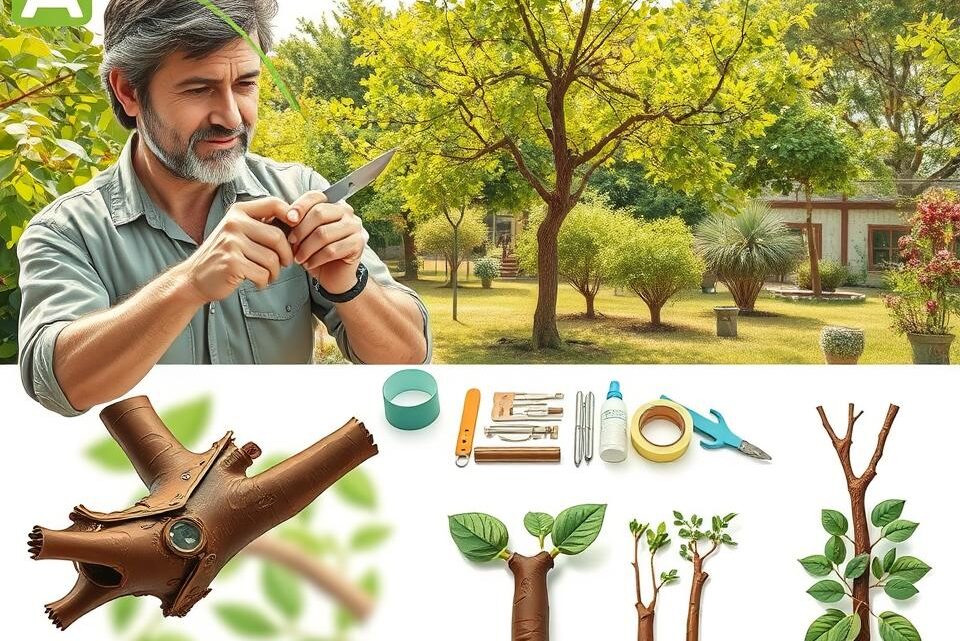
Grafting is a horticultural technique that involves joining a piece of a stem (called a scion) from one tree onto the root system of another tree (called a rootstock). This technique allows gardeners and farmers to combine the beneficial qualities of different trees, such as disease resistance and fruit quality.
By mastering tree grafting techniques, you can create new trees with desirable traits, enhancing your garden’s biodiversity and productivity. This guide will walk you through the process of grafting trees together, providing you with the knowledge and skills needed to succeed.
Inhaltsverzeichnis
Key Takeaways
- Understand the basics of tree grafting and its benefits.
- Learn the different tree grafting techniques and their applications.
- Discover how to prepare the scion and rootstock for grafting.
- Find out how to care for grafted trees to ensure their survival.
- Explore the advantages of grafting trees together, including improved disease resistance and fruit quality.
Understanding Tree Grafting Basics
The art of tree grafting involves joining a piece of a stem (scion) from one tree to the root system (rootstock) of another, creating a new, combined tree. This horticultural technique allows gardeners to propagate new trees with desirable traits, such as improved fruit quality or increased disease resistance.
What is Tree Grafting?
Tree grafting is a precise process that requires careful preparation and execution. By joining a scion from a tree with desirable characteristics to a rootstock that provides robustness and adaptability, gardeners can create new trees that benefit from the best qualities of both.
Benefits of Grafting for Home Gardeners
Grafting offers several benefits for home gardeners in the UK. It allows for the propagation of trees that are better suited to local climate conditions, improving their chances of thriving. Additionally, grafting can be used to introduce new varieties of fruit trees or to rejuvenate older trees, enhancing overall garden biodiversity.
Best Seasons for Grafting in the UK Climate
In the UK, the best time for grafting depends on the type of tree and the grafting technique. Generally, late winter to early spring is considered ideal for most grafting activities, as it allows the new graft to heal before the onset of active growth. However, some techniques, like bud grafting, are more suited to late summer.
Which Trees Can Be Grafted Together?
The compatibility of trees for grafting is determined by their botanical families. Grafting is most successful when the scion and rootstock are closely related and share similar growth patterns. Understanding these compatibility rules is essential for home gardeners looking to graft trees in their UK gardens.
The Botanical Family Compatibility Rule
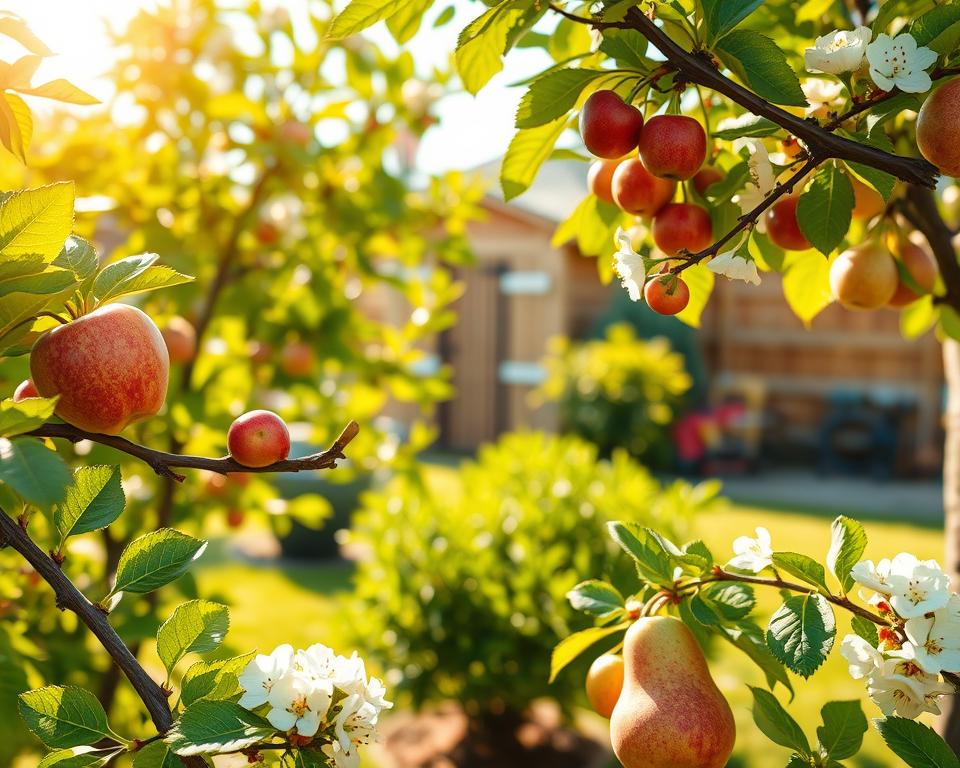
Trees that belong to the same botanical family are generally more compatible for grafting. For example, fruit trees from the Rosaceae family, which includes apples, pears, and cherries, can often be grafted onto each other. However, the compatibility can vary even within the same family, depending on the specific genus and species.
Common Compatible Fruit Tree Combinations
Some common compatible fruit tree combinations include:
- Apple (Malus domestica) onto apple rootstock or sometimes pear rootstock.
- Pear (Pyrus communis) onto pear rootstock.
- Plum (Prunus domestica) onto plum or cherry rootstock.
These combinations are popular among gardeners because they can improve the tree’s disease resistance, growth rate, and fruit quality.
Ornamental Tree Grafting Possibilities
Ornamental trees can also be grafted to create unique specimens with desirable traits. For instance, grafting different flowering varieties onto a single rootstock can result in a tree with multiple blooming periods, enhancing garden diversity.
“Grafting ornamental trees allows for the creation of stunning specimens that can be tailored to specific garden designs.”
Incompatible Combinations to Avoid
It’s crucial to avoid grafting trees that are not compatible. For example, grafting a fruit tree from the Rosaceae family onto a rootstock from a different family, like Juglandaceae (walnut family), is unlikely to be successful. Researching the specific compatibility of the trees you wish to graft is essential.
| Tree Type | Compatible Rootstock | Incompatible Rootstock |
|---|---|---|
| Apple | Apple, Pear | Walnut, Cherry |
| Pear | Pear, Apple | Plum, Apricot |
| Plum | Plum, Cherry | Apple, Pear |
By understanding and applying the principles of tree compatibility, gardeners can successfully graft trees, enhancing their garden’s productivity and diversity.
Essential Tools and Materials for Grafting
To successfully graft trees, you’ll need the right tools and materials. Grafting is a precise technique that requires high-quality equipment to ensure a successful union between the scion and rootstock.
Quality Grafting Knives and Secateurs
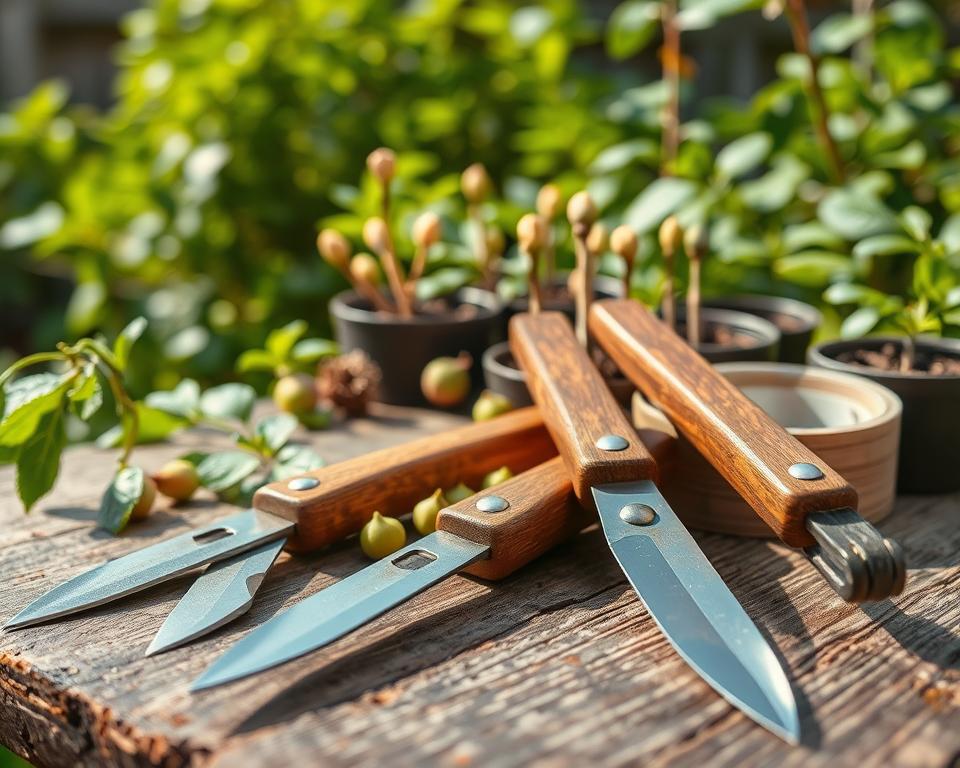
A good grafting knife is essential for making clean cuts. Look for knives with sharp, thin blades that can slice through wood smoothly. Secateurs are also vital for trimming and preparing both the scion and rootstock. Invest in high-quality, sharp secateurs to avoid crushing the stems.
Grafting Tape and Rubber Bands
Grafting tape or rubber bands are used to secure the scion to the rootstock. They help maintain pressure and ensure the graft heals properly. Parafilm is a popular grafting tape that stretches and seals the graft, protecting it from moisture loss.
Grafting Wax and Cold Sealants
Grafting wax or cold sealants are applied to seal the graft, protecting it from drying out and infection. These products come in various formulations, including waxes and more modern synthetic sealants.
UK Suppliers for Grafting Equipment
In the UK, you can find grafting equipment through specialist horticultural suppliers or online retailers. Look for suppliers that cater to professional grafters or serious gardeners, as they typically offer high-quality tools and materials.
Preparing for the Grafting Process
Proper preparation is the key to successful tree grafting, and this involves several important steps. Ensuring you have the right materials and conditions will significantly impact the success of your grafting efforts.
Selecting Healthy Rootstock Varieties
Choosing the right rootstock is crucial for the success of your graft. Healthy rootstock should be vigorous, disease-free, and compatible with the scion you plan to graft. Consider factors such as climate tolerance and soil adaptability when selecting rootstock.
Collecting and Storing Scion Wood
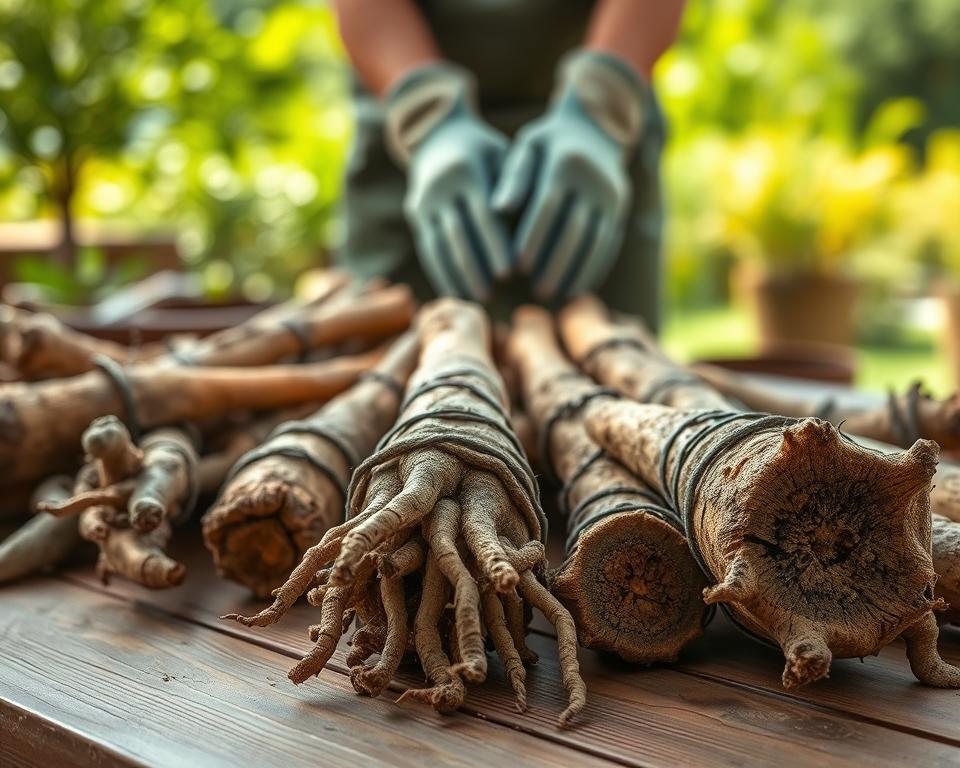
Scion wood should be collected from healthy, disease-free trees with the desired traits. It’s best to collect scion wood during the dormant season. Store the scion wood in a cool, humid environment, such as a refrigerator, to keep it viable until you’re ready to graft.
Sterilising Your Tools Properly
Sterilising your grafting tools is essential to prevent the spread of diseases. Use a sterilising solution or flame to sterilise your tools before and after each graft. This simple step can significantly improve the success rate of your grafts.
Creating Optimal Working Conditions
Your working environment can also impact the success of your grafting. Work in a clean, sheltered area protected from wind and extreme temperatures. Having all your tools and materials organised and within reach will make the grafting process smoother and more efficient.
Common Grafting Techniques for British Gardens
When it comes to grafting trees in British gardens, several techniques have proven to be particularly effective. Grafting allows gardeners to combine the desirable traits of different trees, such as disease resistance or improved fruit quality, with the hardiness of a robust rootstock.
The choice of grafting technique often depends on the type of trees being grafted and the time of year. Here, we’ll explore some of the most common grafting techniques used in British gardens.
Whip and Tongue Grafting for Apples and Pears
Whip and tongue grafting is a popular technique for grafting apple and pear trees. It involves making a sloping cut on both the rootstock and the scion, then creating a “tongue” on both pieces that fit together, increasing the surface area for cambium contact.
This method is particularly effective for fruit trees because it allows for a strong union and promotes healthy growth. To succeed with whip and tongue grafting, it’s crucial to make clean cuts and ensure the scion and rootstock are well-aligned.
Cleft Grafting for Renovating Older Trees
Cleft grafting is a technique often used to renovate older trees or to change the variety of fruit a tree produces. It involves splitting the rootstock and inserting a wedge-shaped scion into the cleft.
This method is advantageous for revitalizing mature trees and can be used for a variety of fruit tree species. The key to successful cleft grafting is ensuring the scion is properly secured within the split and that the cambium layers are in good contact.

Bark Grafting for Plums and Cherries
Bark grafting is another technique used for stone fruits like plums and cherries. It involves making a flap in the bark of the rootstock and inserting the scion under the bark.
This method is typically performed when the bark is loose, usually in the spring. Bark grafting allows for the grafting of multiple scions onto a single rootstock, making it a versatile technique for creating diverse fruit trees.
T-Budding for Roses and Ornamentals
T-budding is a grafting technique used primarily for roses and other ornamental plants. It involves making a T-shaped incision in the rootstock bark and inserting a bud from the desired variety.
This technique is highly effective for propagating roses and other ornamentals because it allows for the precise transfer of a single bud, minimizing the risk of disease transmission and promoting a strong union.
| Grafting Technique | Suitable Trees | Best Time |
|---|---|---|
| Whip and Tongue | Apples, Pears | Late winter |
| Cleft Grafting | Older fruit trees | Late winter to early spring |
| Bark Grafting | Plums, Cherries | Spring |
| T-Budding | Roses, Ornamentals | Summer |
By mastering these grafting techniques, gardeners in the UK can successfully cultivate a wide range of tree species, from fruit trees to ornamentals, enhancing the diversity and productivity of their gardens.
Step-by-Step Guide to Whip and Tongue Grafting
To successfully graft trees using the whip and tongue method, precision is key. This technique, popular among horticulturists, requires a thorough understanding of the steps involved to ensure a successful union between the rootstock and scion.
Cutting and Preparing the Rootstock
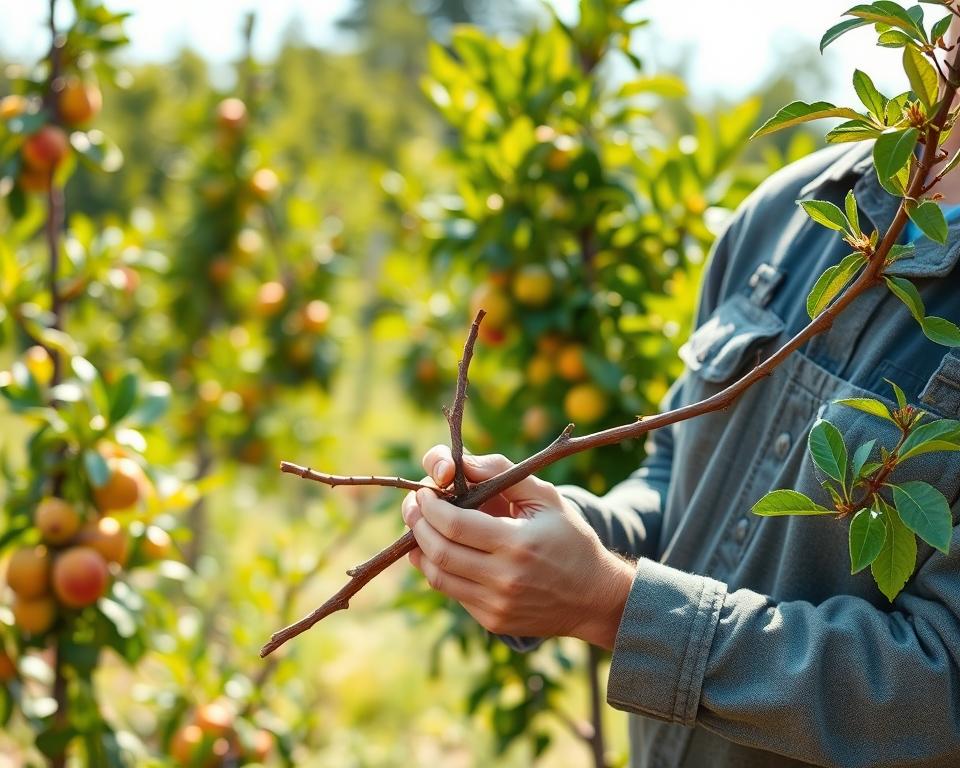
The first step in whip and tongue grafting is preparing the rootstock. You need to select a healthy rootstock with a diameter similar to that of the scion. Using a sharp grafting knife, make a clean, angled cut on the rootstock. The angle should be about 30 degrees to facilitate a larger contact area between the rootstock and scion.
Shaping the Scion for Perfect Fit
Next, you need to prepare the scion by making a corresponding angled cut. Ensure that the cut on the scion matches the one on the rootstock as closely as possible. The scion should be fresh and have at least two buds. The cut should be smooth and not crushed, as this can lead to a poor graft.
Creating the Tongue for Better Union
Creating the tongue is a crucial step in whip and tongue grafting. To do this, make a small slit in the rootstock, starting from the middle of the angled cut and moving downwards. Repeat this process on the scion, ensuring that the slits interlock when the two are joined. This “tongue” helps to secure the scion in place and increases the cambium contact area.
Binding and Sealing the Graft
Once the scion and rootstock are joined, use grafting tape or rubber bands to secure them in place. Start at the base of the graft and work your way up, ensuring that the tape is not too tight as to constrict the graft. Finally, apply a layer of grafting wax or sealant to protect the graft from moisture loss and disease.
As David Bellamy once said, “Gardening is a love song, a duet between a human being and Mother Nature.” With the whip and tongue grafting technique, you’re not just joining two pieces of wood together; you’re creating a new, thriving tree.
Step-by-Step Guide to Cleft Grafting
Cleft grafting allows you to breathe new life into established trees by introducing new scions, thereby enhancing the tree’s productivity and diversity.
Cutting and Splitting the Rootstock
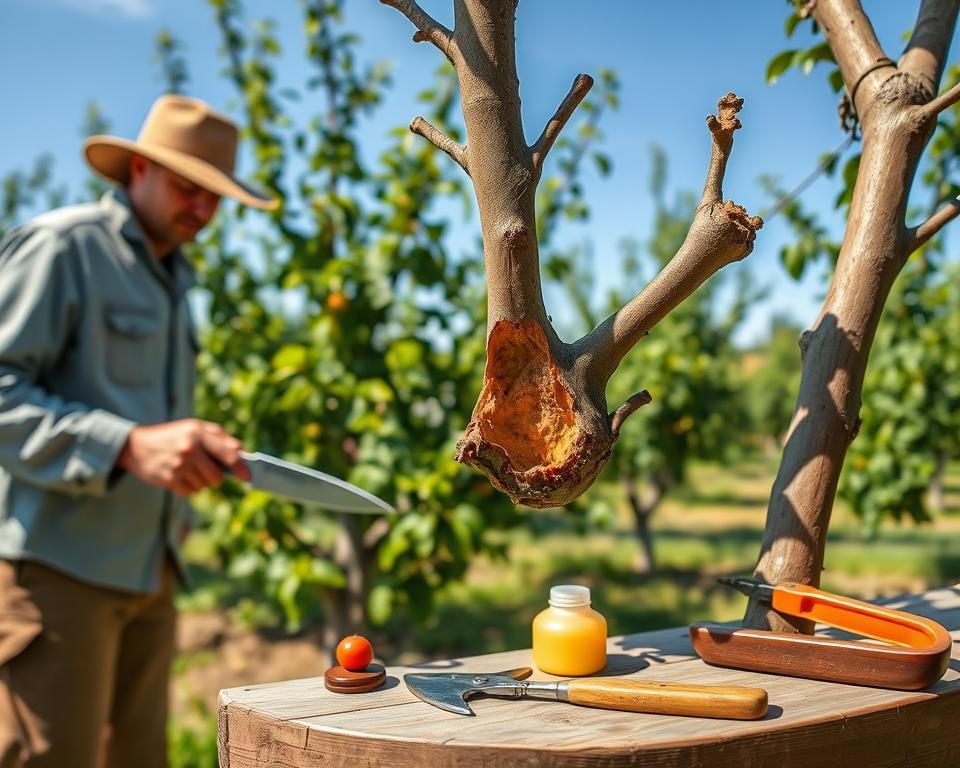
To begin cleft grafting, you’ll need to cut and split the rootstock. This involves making a clean cut on the rootstock branch, typically between 2 to 4 inches from the trunk or main branch. Use a sharp saw to make the cut, and then use a cleft grafting tool or a chisel to split the cut end. The split should be about 2-3 inches deep, creating a ‘V’ shape. This is where you’ll insert your scions.
Preparing Wedge-Shaped Scions
Scions for cleft grafting should be prepared with a wedge shape at the base. This is achieved by making two sloping cuts on the base of the scion, creating a sharp wedge. The scion should be about 2-3 inches long and have at least two buds. The wedge shape helps in inserting the scion into the split rootstock, ensuring good contact between the cambium layers.
Positioning Scions for Cambium Contact
When positioning the scions in the split rootstock, it’s crucial to ensure that the cambium layer of the scion comes into contact with the cambium layer of the rootstock. The cambium layer is the thin layer of tissue just beneath the bark where growth occurs. Proper alignment is key to successful grafting. Gently place the scions into the split, making sure they’re seated properly and the cambium layers are in contact.
Applying Grafting Wax Effectively
After the scions are positioned, apply grafting wax around the graft union to seal it. This prevents moisture loss and protects the graft from infection. Ensure the wax covers the entire graft area, including the split and the base of the scions. You can also use grafting tape or rubber bands to hold the scions in place before applying the wax, especially if the split is wide.
By following these steps, you can successfully perform cleft grafting on your trees, revitalizing them and potentially increasing their yield or introducing new varieties.
Step-by-Step Guide to Bark Grafting
Bark grafting, a technique favoured by many horticulturists, allows for the rejuvenation of older trees. This method is particularly useful for certain fruit trees that are challenging to graft using other techniques.
Timing Bark Grafts for Active Growth
The success of bark grafting largely depends on the timing. In the UK climate, the ideal time for bark grafting is during the spring when the bark is loose and the tree is in active growth. This period typically coincides with the sap flow, making it easier to separate the bark from the wood.
Creating the Bark Pocket
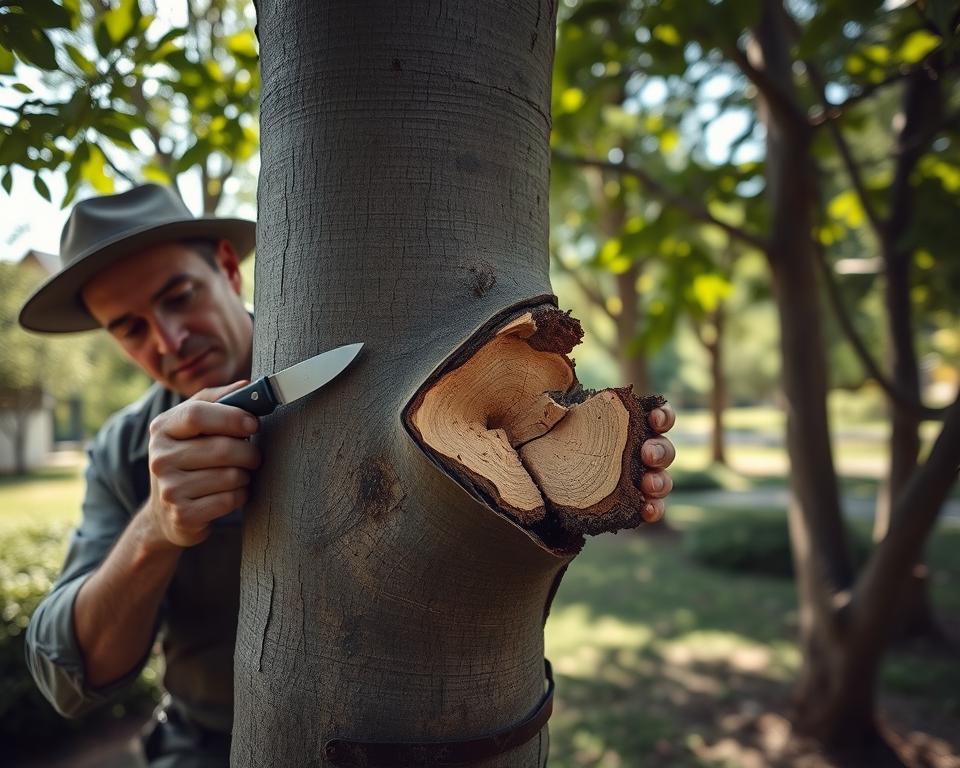
To create a bark pocket, make a vertical incision through the bark down to the cambium layer. Gently pry the bark away from the wood on both sides of the incision, creating a pocket. Be cautious not to damage the underlying tissue.
Preparing and Inserting Scions
Prepare scions by cutting them to a wedge shape, ensuring that the cambium layer is exposed. Insert the scion into the bark pocket, making sure that the cambium layers of both the scion and the rootstock are in contact. This contact is crucial for the graft to take.
Securing Multiple Grafts on One Stock
When securing multiple grafts, evenly space them around the rootstock to ensure uniform growth and to prevent overcrowding. Use grafting tape or rubber bands to secure the scions in place, and apply grafting wax to seal the wounds and prevent moisture loss.
By following these steps, you can successfully bark graft your trees, revitalizing older specimens and introducing new varieties to your garden.
Step-by-Step Guide to Bud Grafting
The art of bud grafting involves carefully selecting and joining a single bud from a desired plant to a compatible rootstock. This technique is particularly useful for propagating roses and ornamentals. To achieve success, you’ll need to follow a series of precise steps.
Selecting Perfect Buds in Summer
When selecting buds for grafting, it’s crucial to choose those that are healthy and well-developed. Summer is the ideal time for bud grafting, as the sap is flowing freely, making it easier to separate the bud from the stem. Look for buds that are plump and have a slight sheen to them, indicating they are ready for grafting.
Creating the T-Shaped Incision
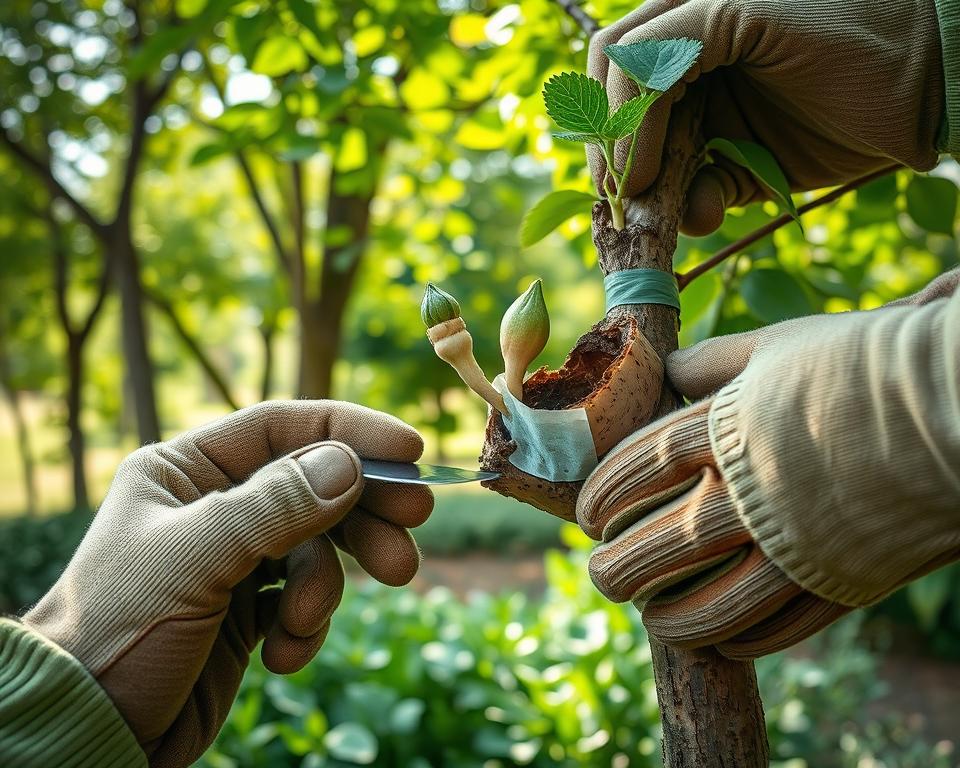
A T-shaped incision is made in the rootstock to accommodate the bud. This incision should be carefully crafted to avoid damaging the surrounding tissue. Use a sharp grafting knife to make a clean cut, and gently pry open the bark to create a pocket for the bud.
Inserting and Positioning the Bud
Once the T-shaped incision is ready, carefully remove the bud from the scion wood, taking care not to damage the delicate tissue. Insert the bud into the incision, ensuring it’s positioned correctly and the cambium layers are in contact.
Proper Wrapping Techniques
After inserting the bud, wrap the graft with grafting tape or a rubber band to secure it in place. Make sure the wrapping is tight enough to hold the bud firmly but not so tight that it damages the tissue. This will help the bud to unite with the rootstock successfully.
Aftercare for Newly Grafted Trees
Aftercare for newly grafted trees is a critical phase that determines their survival and growth. Proper care ensures that the graft union heals correctly and that the tree establishes a strong root system.
Watering and Feeding Regimes
Adequate watering is crucial, especially during the first year after grafting. You should keep the soil consistently moist but not waterlogged. Watering once a week is usually sufficient, but this may vary depending on weather conditions. Feeding your grafted trees with a balanced fertilizer in the spring can promote healthy growth. However, avoid over-fertilizing, as this can cause more harm than good.
Protecting Grafts from British Weather
British weather can be unpredictable, with sudden changes in temperature and rainfall. To protect your grafted trees, consider using a breathable grafting tape that allows for moisture exchange while shielding the graft from excessive rain. Additionally, staking the tree can help protect it from strong winds that might damage the graft union.
Removing Rootstock Suckers
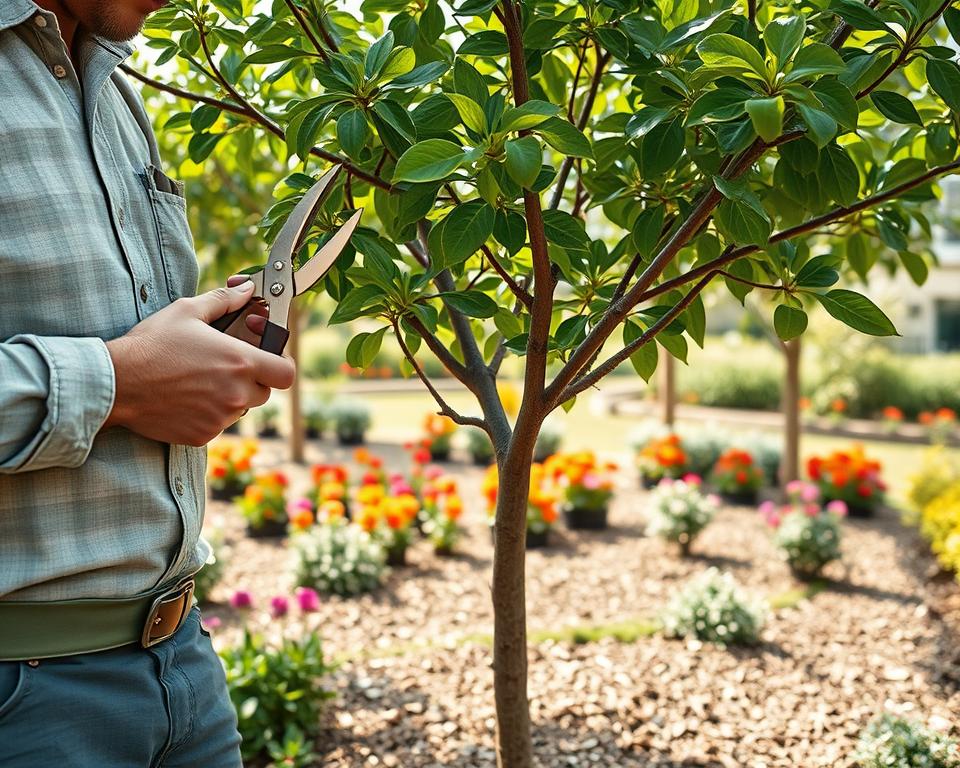
Rootstock suckers are shoots that grow from the rootstock below the graft union. These can divert energy from the scion, potentially weakening it. Regularly inspect your grafted trees and remove any suckers that appear, cutting them off as close to the rootstock as possible to prevent regrowth.
Monitoring Graft Union Development
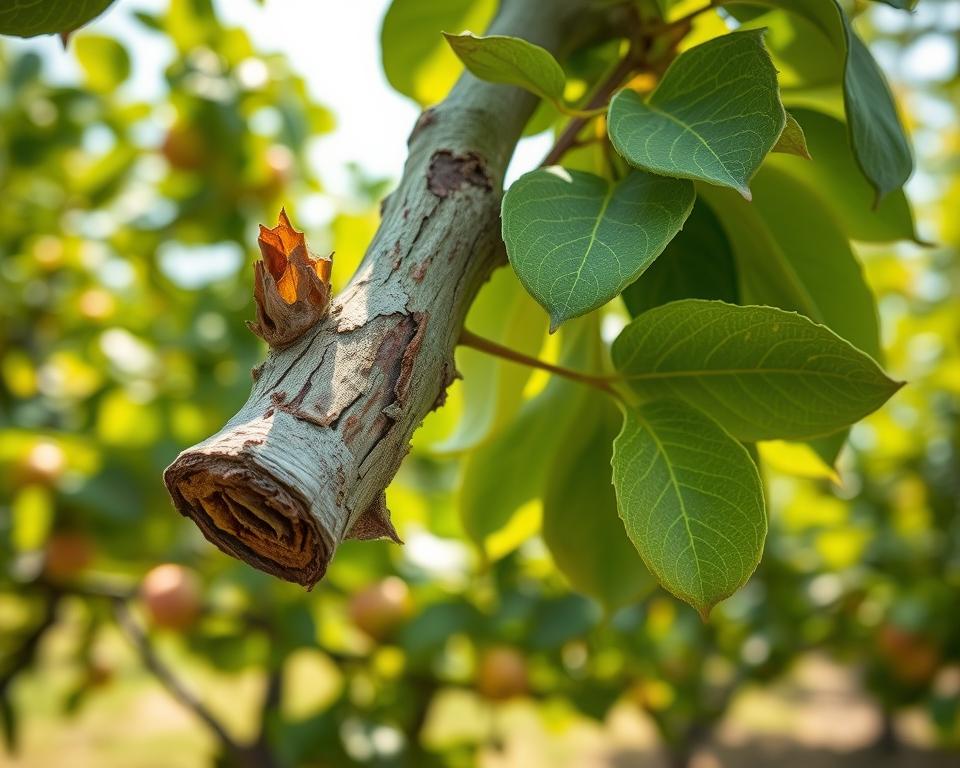
Monitoring the development of the graft union is vital. Check for signs of successful grafting, such as the scion growing and producing new leaves. If the graft union appears swollen or cracked, it may indicate a problem. Regular inspections will help you identify any issues early, allowing you to take corrective action.
Troubleshooting Common Grafting Problems
Successful grafting requires not only technical skill but also the ability to troubleshoot common problems that may arise. As you venture into grafting, being aware of potential issues can help you address them promptly, ensuring the health and vitality of your grafted trees.
Identifying Early Signs of Graft Failure
Graft failure can occur due to various reasons, including poor cambium contact, incorrect grafting technique, or adverse weather conditions. Early signs of graft failure include discoloration or dieback of the scion, or a visible separation between the scion and rootstock. Regular inspection of your grafts is crucial to catch these signs early.
Managing Pests and Diseases Around Grafts
Pests and diseases can significantly threaten the success of your grafts. Regular monitoring and maintaining good hygiene practices are essential. Use organic or integrated pest management (IPM) strategies to control any infestations or infections. Keeping the area around your grafts clean and well-maintained can prevent many issues.
Dealing with Delayed Bud Break
Delayed bud break can be a concern for grafters, as it may indicate stress or failure of the graft to take. Ensure your grafts are receiving adequate water and nutrients. If bud break is significantly delayed, consider checking the graft union for any signs of failure or damage.
When and How to Regraft
If a graft fails, regrafting may be necessary. Assess the reasons for the failure and correct them before attempting again. Choose a different scion or rootstock if compatibility was an issue, and ensure your tools are sterilized to prevent disease transmission.
UK-Specific Considerations for Tree Grafting
The UK’s diverse climate and rich horticultural history make tree grafting a nuanced art. As you embark on grafting trees in your British garden, it’s essential to consider the unique factors that influence this delicate process.
Heritage Varieties Worth Preserving
The UK is home to numerous heritage tree varieties that are worth preserving through grafting. These include historic apple varieties like the Egremont Russet and Ribston Pippin. Grafting helps maintain the genetic integrity of these trees, ensuring their continuation for future generations.
Regional Adaptations for Scottish, Welsh, and English Gardens
Different regions in the UK have distinct climates and soil conditions that affect grafting. For instance, Scottish gardens often require more hardy rootstocks due to the colder climate, while English gardens may benefit from a wider range of varieties. Understanding these regional adaptations is crucial for successful grafting.
Local Regulations for Fruit Tree Propagation
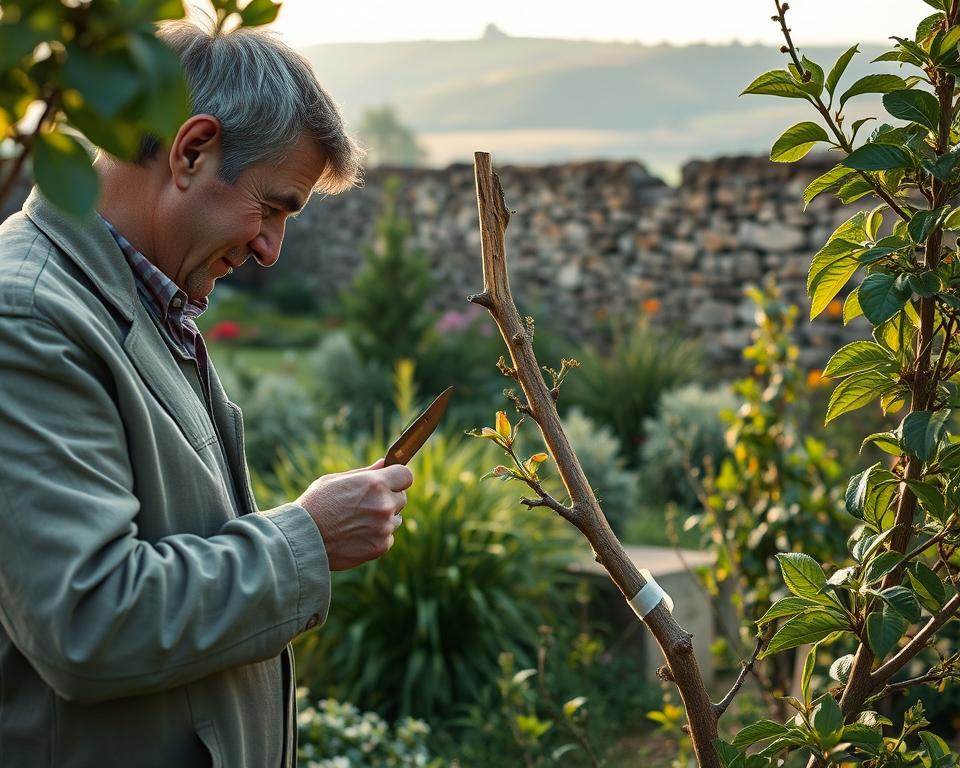
You should be aware of local regulations regarding fruit tree propagation in the UK. Some varieties may be protected by plant breeders’ rights, and propagating them without permission could be illegal. Checking with local authorities or horticultural societies can provide clarity on these regulations.
UK Grafting Clubs and Resources
The UK has a vibrant community of grafting enthusiasts, with numerous clubs and resources available. Joining local horticultural societies or online forums can provide valuable guidance, access to scion wood, and opportunities to learn from experienced grafters.
By considering these UK-specific factors, you can enhance your grafting success and contribute to preserving the country’s rich horticultural heritage.
Conclusion
You now have a comprehensive understanding of tree grafting, a horticultural technique that allows you to combine the desirable traits of different trees. By grafting, you can create new, resilient, and productive trees for your garden.
A successful grafting process relies on choosing compatible tree species, using the right tools, and following proper techniques. The various grafting methods, including whip and tongue, cleft, and bark grafting, offer flexibility for different tree types and needs.
As you venture into tree grafting, remember to be patient and meticulous. Monitor your grafts closely, and be prepared to troubleshoot any issues that arise. With practice, you will become proficient in this valuable skill, enabling you to propagate a wide range of tree species.
In conclusion, tree grafting is a rewarding technique that can enhance your gardening experience. By applying the knowledge and skills outlined in this guide, you can enjoy the benefits of grafted trees, including improved disease resistance and increased fruit production.
FAQ
What is tree grafting?
Tree grafting is a horticultural technique that involves joining a piece of a stem (called a scion) from one tree onto the root system of another tree (called a rootstock), allowing them to grow together as a single tree.
Which trees can be grafted together?
Trees that are botanically related can be grafted together. For example, apples and pears, which are both part of the Rosaceae family, can be grafted onto each other. However, grafting between different genera or families is often unsuccessful.
What are the benefits of grafting trees?
Grafting trees allows you to combine the desirable traits of different trees, such as disease resistance, improved fruit quality, or increased hardiness, onto a single tree. It can also be used to repair damaged trees or to change the variety of fruit produced by a tree.
What is the best time to graft trees in the UK?
In the UK, the best time to graft trees depends on the type of grafting being done. For whip and tongue grafting, late winter to early spring is ideal, while for T-budding, summer is the best time.
What tools do I need to graft trees?
To graft trees, you will need a sharp grafting knife, secateurs or pruning shears, grafting tape or rubber bands, and grafting wax or cold sealant.
How do I care for newly grafted trees?
Newly grafted trees require careful watering, feeding, and protection from extreme weather conditions. You should also monitor the graft union for signs of failure or disease.
What are some common problems with grafting trees?
Common problems with grafting trees include graft failure, disease, and pest infestations. Regular monitoring and proper aftercare can help to minimise these risks.
Can I graft any variety of fruit tree?
While many varieties of fruit trees can be grafted, some are more compatible than others. You should research the specific compatibility of the varieties you wish to graft before attempting to do so.
Are there any local regulations I need to be aware of when grafting trees in the UK?
Yes, there may be local regulations or guidelines governing the propagation and sale of grafted trees in the UK. You should check with local authorities or horticultural organisations for more information.
Where can I find more information and resources on tree grafting in the UK?
There are several UK-based horticultural organisations, grafting clubs, and online resources available that provide information, guidance, and support for tree grafting enthusiasts.